
Today I will start planning the lighting for a tool shed that I built during the winter. It's always great to get started before the outdoor season.
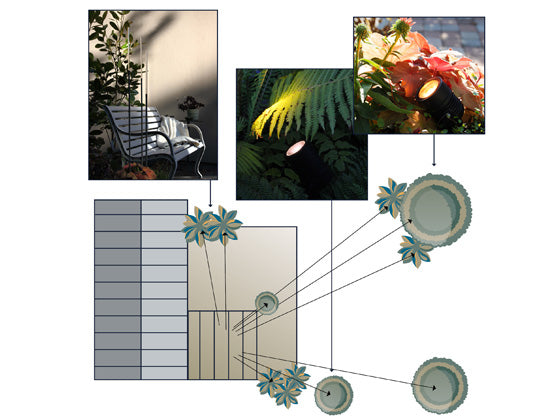
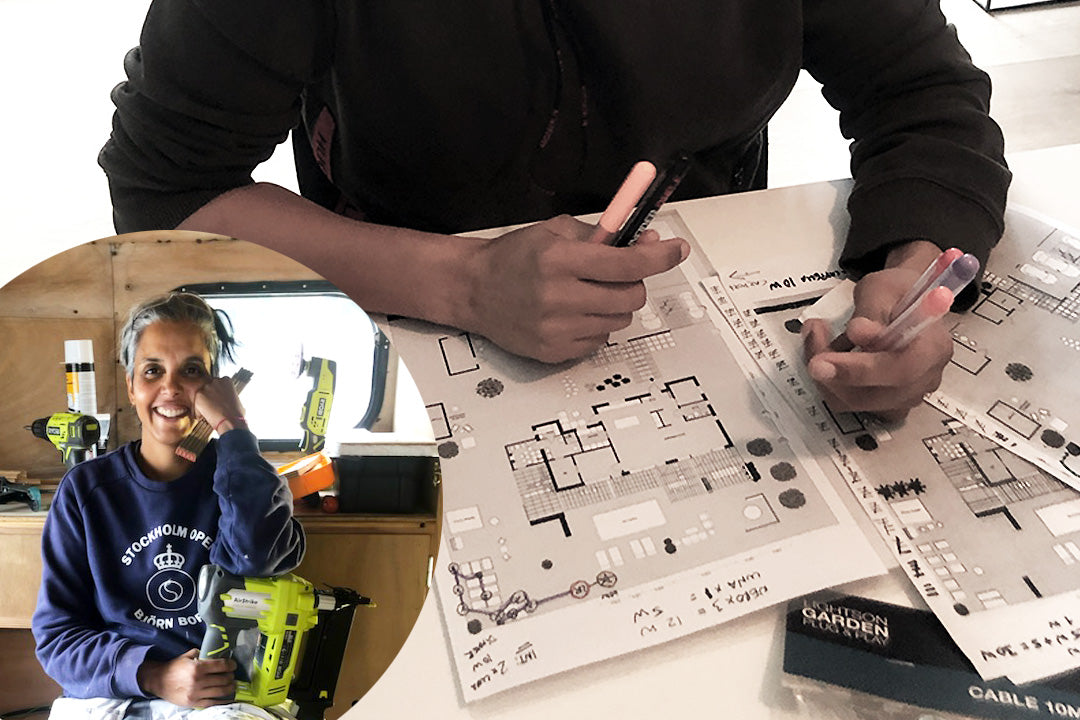
The first thing I always do is make a quick sketch of what I want the lighting to look like and where the nearest outlet for the transformer is located. I personally use a technical drawing of the house / garden, but it certainly doesn't have to be that "pretty". A plain paper and a pen will be more than enough. The important thing is to get the distances right and locate where the cables will split.
Now I plan the location of the transformer, lamps and photcell (light sensor). Then it is time to measure the total cable length in my system. I also figure out where I need to split the system and what kind of splitters I need for this. In this case, I use T-connectors to be able to move on to the next lamp. A T-connector is exactly what it sounds like, a T-junction where you, for example, can connect two lights or one light and continue with a cable to another place. Smooth.

I thought of dividing this particular lighting zone into two. One for the inside of the shed and one for the outside. This in order to make it easier for me in the future and for the different zones to work function the way I want them to. In my case, the inside of the shed should not be controlled to the light sensor.
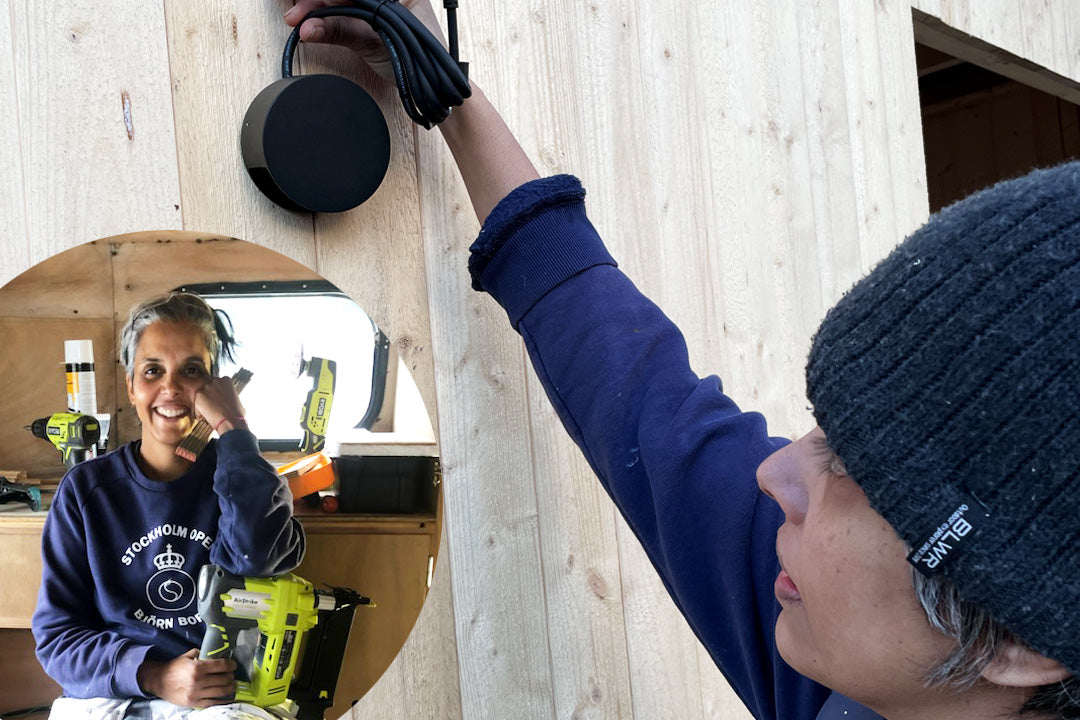
It's windy and cold, so I will start on the inside. In here I will place two lamps called Luna and a dimmer. This project does not use the dimmer as a dimming feature. It also has an on/off function, so it works perfectly as a switch inside.

Firstly, I mount the transformer on the wall next to a nearby electrical outlet, then I lay out the cables. For me it is important to keep the cables out of sight, so I hide them in a hedge. You can also make a small cut in the lawn and hide the cables this way. There are no depth requirements when placing the cables in the ground.
When reaching the shed through the bushes, the first thing I noticed was:
1. Hedges itch!
2. I now have to drill a hole in the wall of the shed for the cable to pass through. The largest part of the cable is the connector nut itself. For the perfect fit, the best drill is a 22 mm drill or bigger.

Once inside the shed, I will hide all the cables inside the wall before I close them off with OSB boards. This is naturally a bit expensive, but I prefer when things are nice and tidy. I start by making a small cut in the wood so that the cable can be hidden there. Then they are not in the way of the boards.
You always need a lot more cable than you think, so my advice is not to be too greedy here! Do not open the packages until you are sure they will be used; this is to make sure that you will be able to return the unused cables.
Cable lengths are 0.5 m, 2.5 m, 5 m, or 10 m, so it is recommended to maintain these distances between lamps. Otherwise you can just leave some slack to generate the correct distance. Every meter is important if you are building a big and complex system, since a transformer can handle a total of about 50 meters of cable.
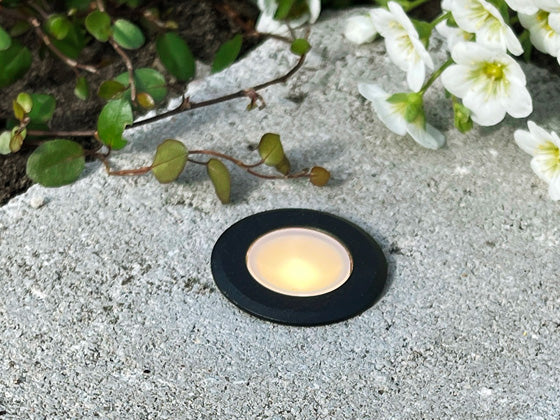
I chose a lamp called Luna for lighting inside the shed. This is an easy lamp to mount. One screw and it’s fixed (pay attention to the wall material and make sure that you use the right type of screw). In addition to the lamp being simple and stylish, I appreciate that the lamp has an replaceable light source.
Since the Luna lamp is actually a ground spotlight, it comes with a ground spike to give your garden light a wider use. So, save the ground spike in case you need it later on, for example to light up a tool shed ;)

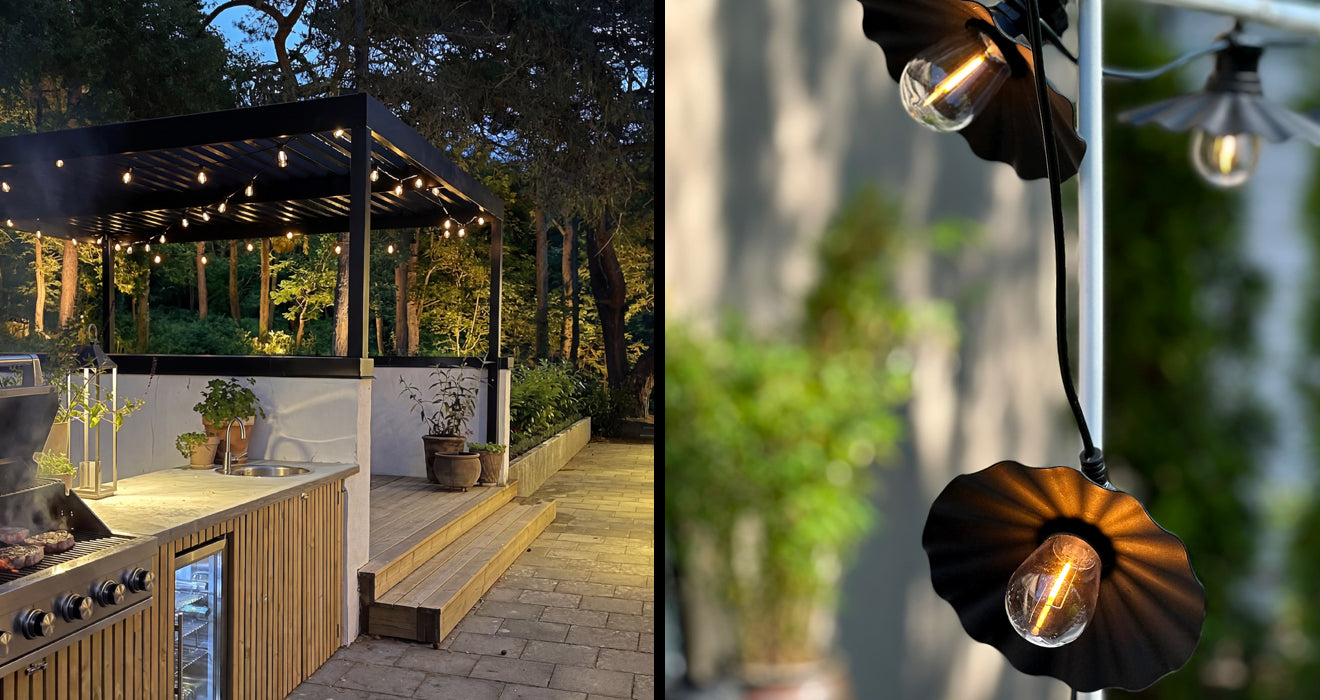
Check out the upcoming Sofia Fix to see the exterior and the final result. I will also provide a little bonus blog, where I use a Luna lamp and rebuild an indoor lamp, which will be used to decorate the outside of the shed.
Tool shed part 2 – facade lighting