
It is great that the project is now completed. Not that it was time consuming or difficult, but it's always rewarding when you're nearing the end and can start planning your next project.
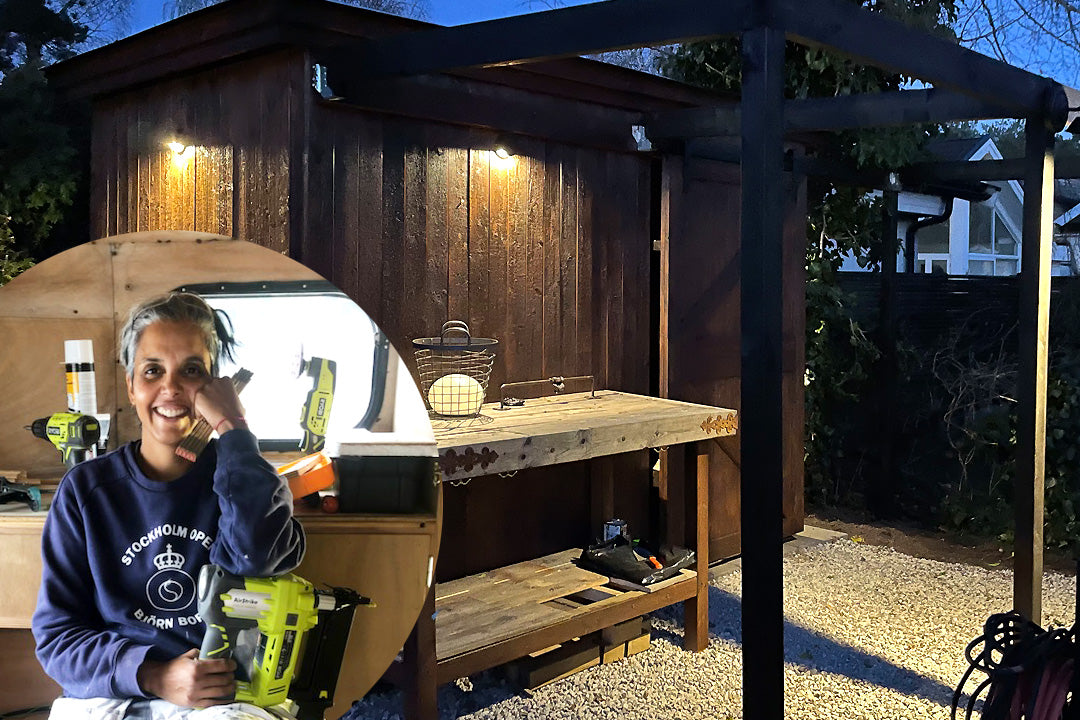
Of course, before rushing ahead, I must say that I am very satisfied and would naturally like to show the latest fixes and final results.The lights are up, the cables safely tucked away in the walls (to keep them out of sight) and the on-off function on the dimmer works perfectly.

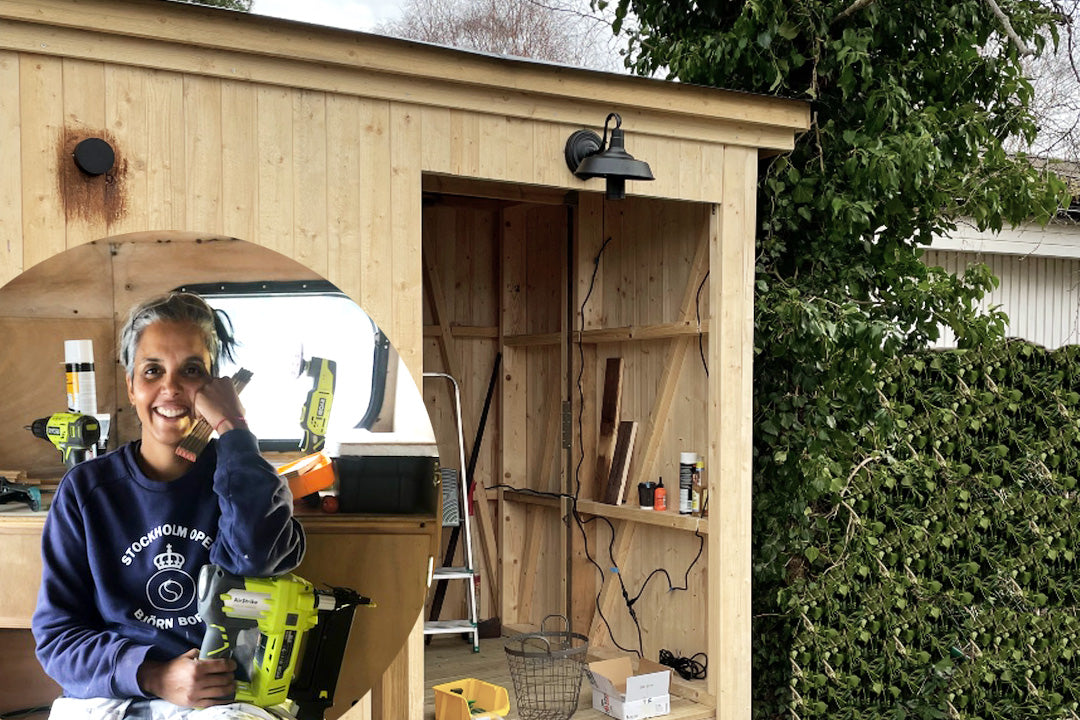
I boarded up the walls again and remounted the wall hooks. You can also see here that I placed the dimmer as a switch next to the door. I think it tuned out great!

The Luna lamp is mounted in one of the ceiling beams. This gives a very nice down light when I need to find the leaf blower this fall ;)
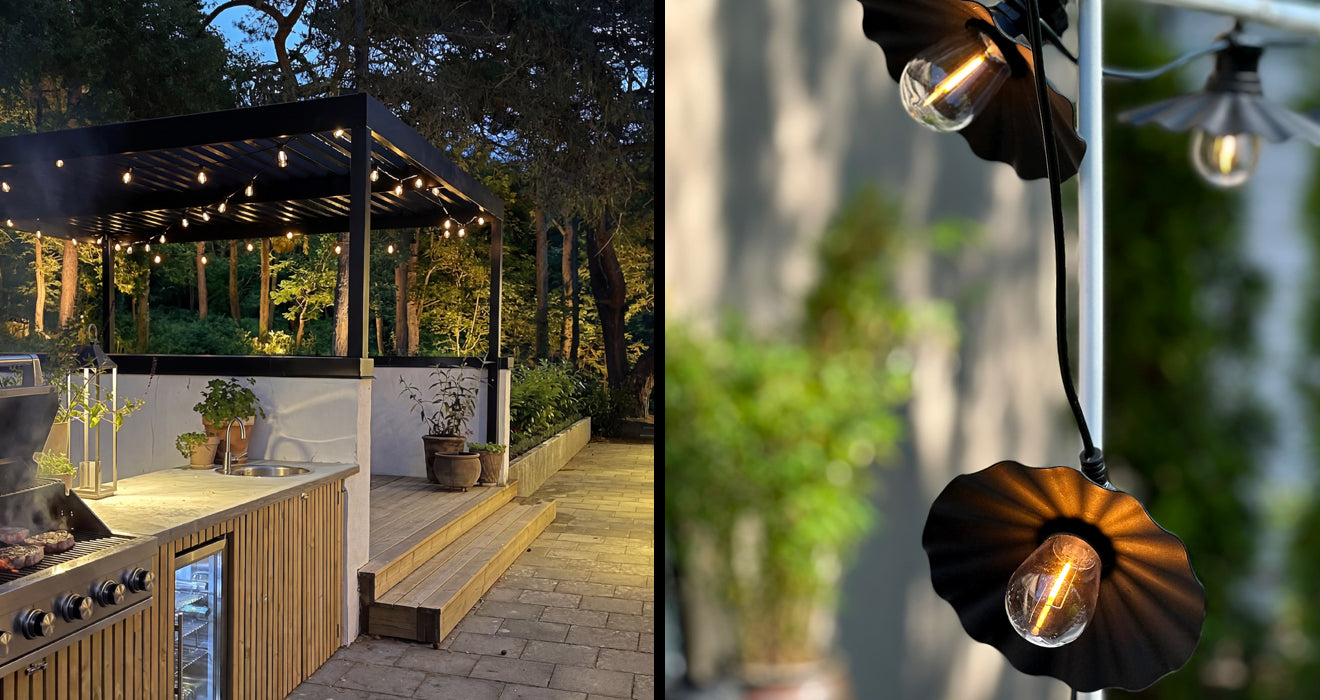
In addition to the purely practical function of the storage space, the front-lit house also turned out really beautifully in the evening compared to the dark and a boring corner that it used to be. When the light spreads across the entire garden it gives a "garden-friendly" feel at night. After all it is during the evening when all the works are completed, that you want to be able to sit down and enjoy what you have done. That is exactly what I intend to do as soon as I am finished.
I hope you found this blog series helpful. There will definitely be more to come.
Bonus blog – Experimenting with a lampshade