
Install decklights
Step 1
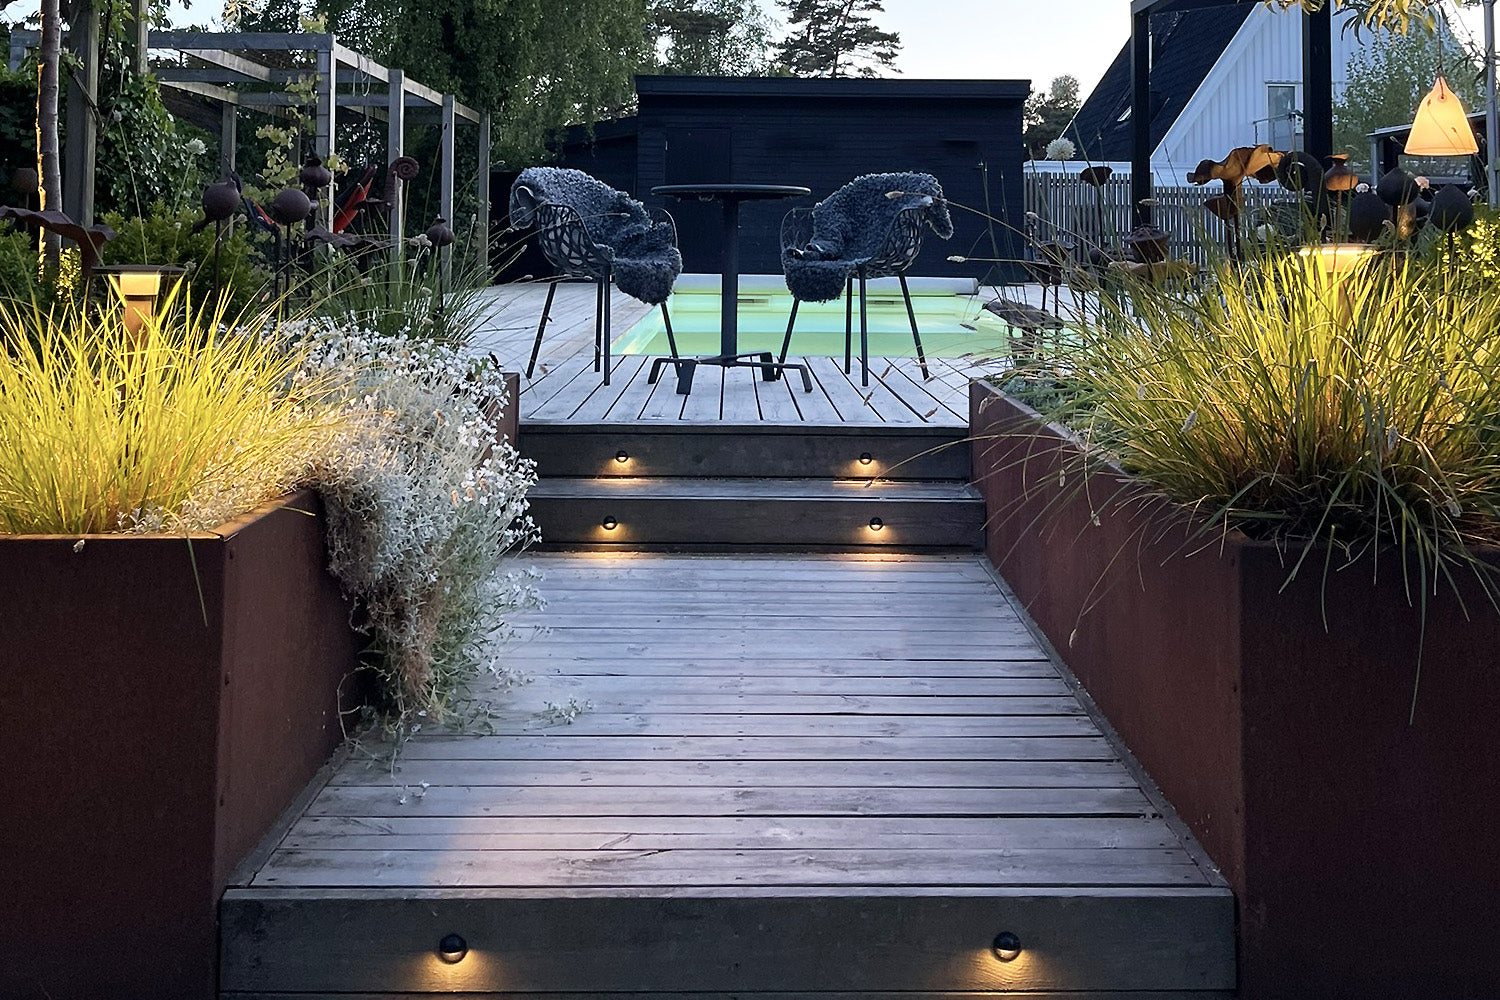
Choose the Right Spacing
As a general rule, we recommend spacing your lights approximately 100 cm (39 in) apart when installing them in a straight line. Of course, you have complete flexibility and can choose a wider or narrower spacing depending on the look you want to achieve.
If you're lighting a wall, fence, planters or steps to create structure and atmosphere, the ideal spacing may vary. With the LightsOn system, you have the freedom to position your lights exactly where they work best for your outdoor space.
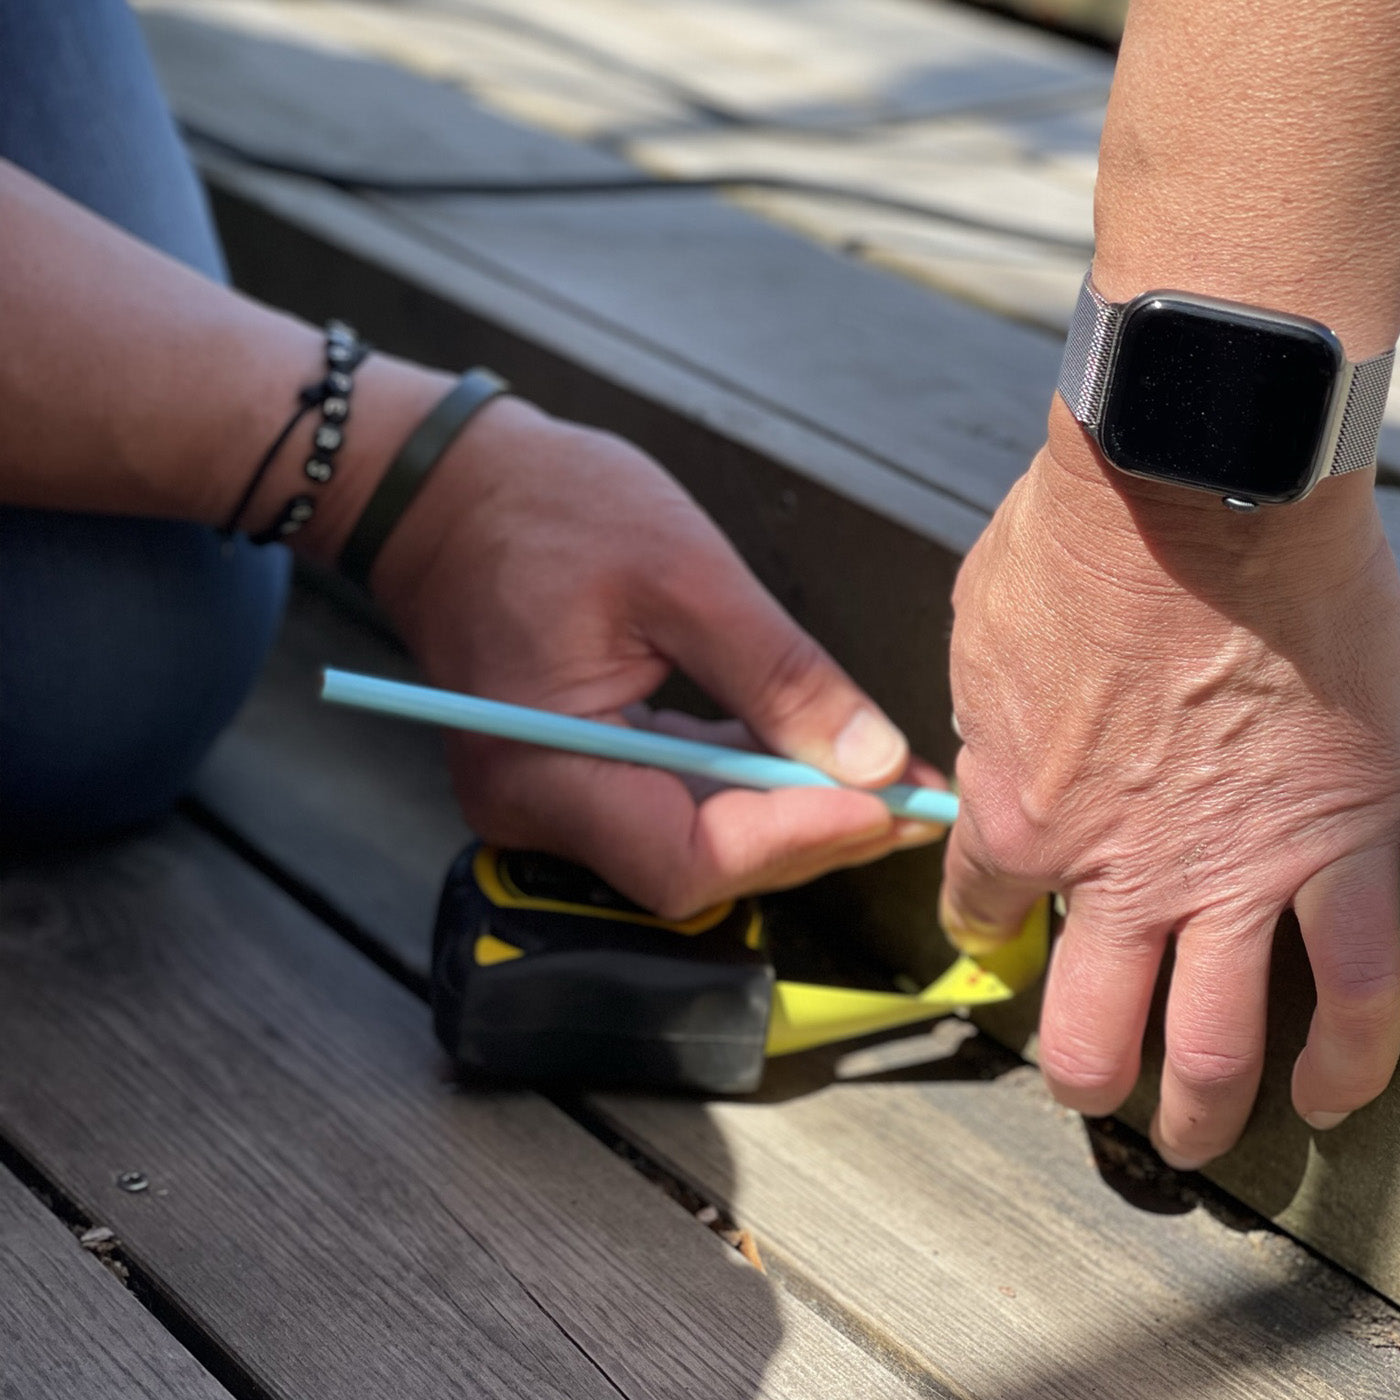
Step 2
Mark the Hole Positions
If you're installing the lights in a straight line, place a screw at the centre of the first and last planned hole, then stretch a string between them. This will give you a straight reference line for measuring and marking each hole.
Position each light in the centre of a deck board and avoid placing it too close to the edge or end of the board. Also, check underneath to make sure there are no joists directly below the planned hole, as this can make installation much more difficult.
If you do need to drill through a joist, drill through its centre to minimise weakening the structure. We also recommend reinforcing the joist afterwards if possible.

Step 3
Lay Out the Deck Lights, Cables and Transformer
Connect all the components before you begin drilling to make sure everything is positioned correctly and working as expected. It's much easier to make adjustments now than after the holes have been drilled.
Tip: If the distance between your lights is greater than 100 cm (39 in), simply skip some of the connectors on the extension cable. If the spacing is shorter, you can lay the cable in an S-shape to bring the connectors closer together. Depending on your layout, you may need to add an extra extension cable at the end to connect the remaining deck lights.
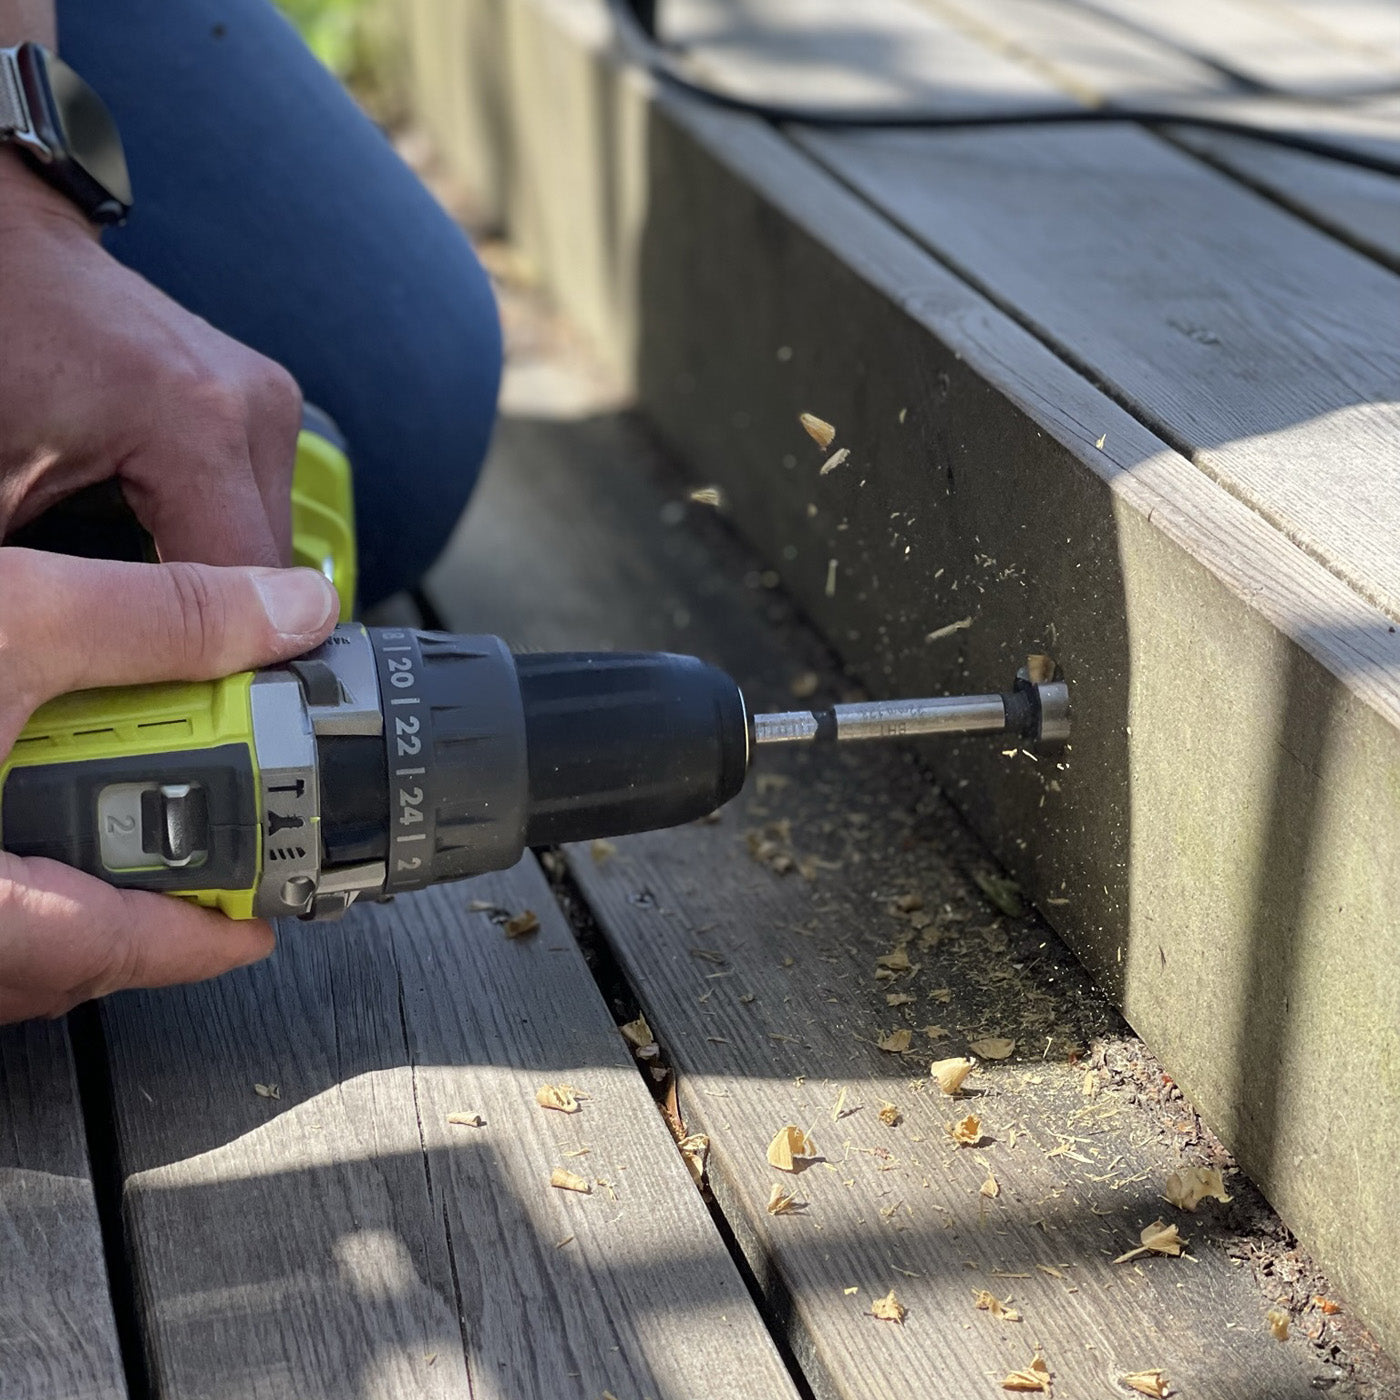
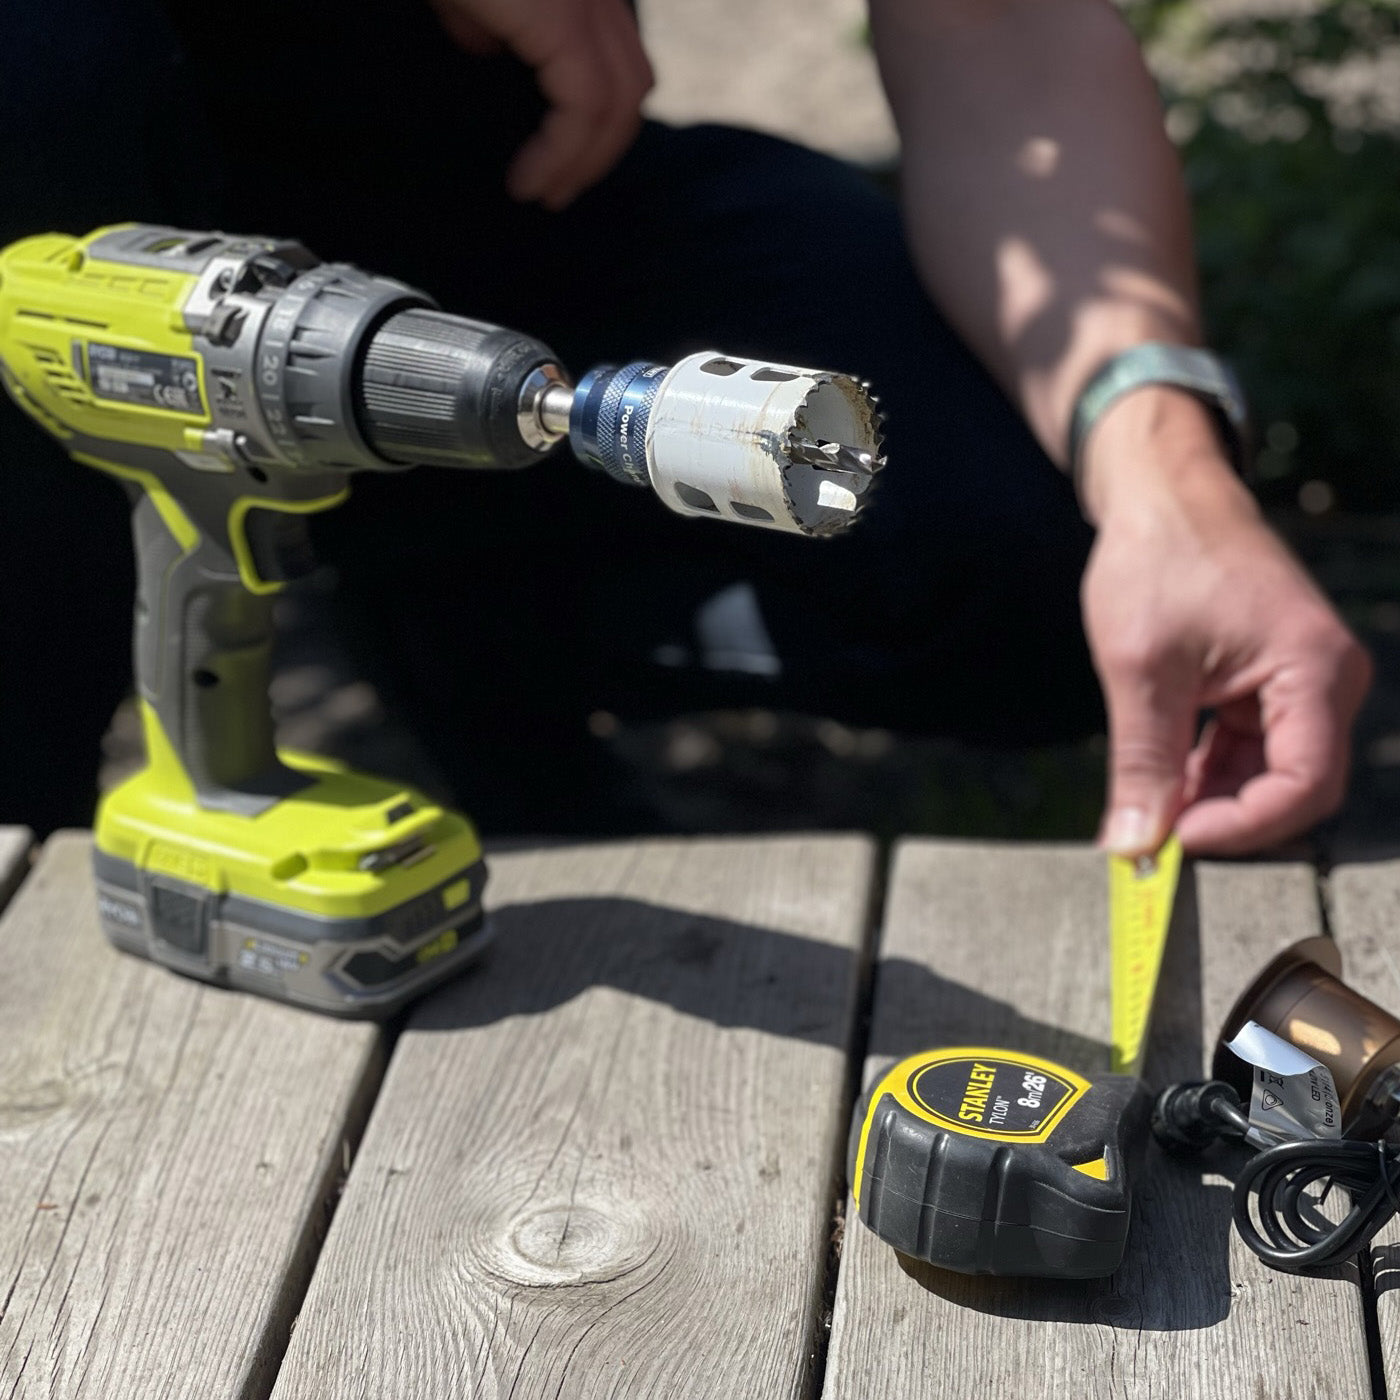
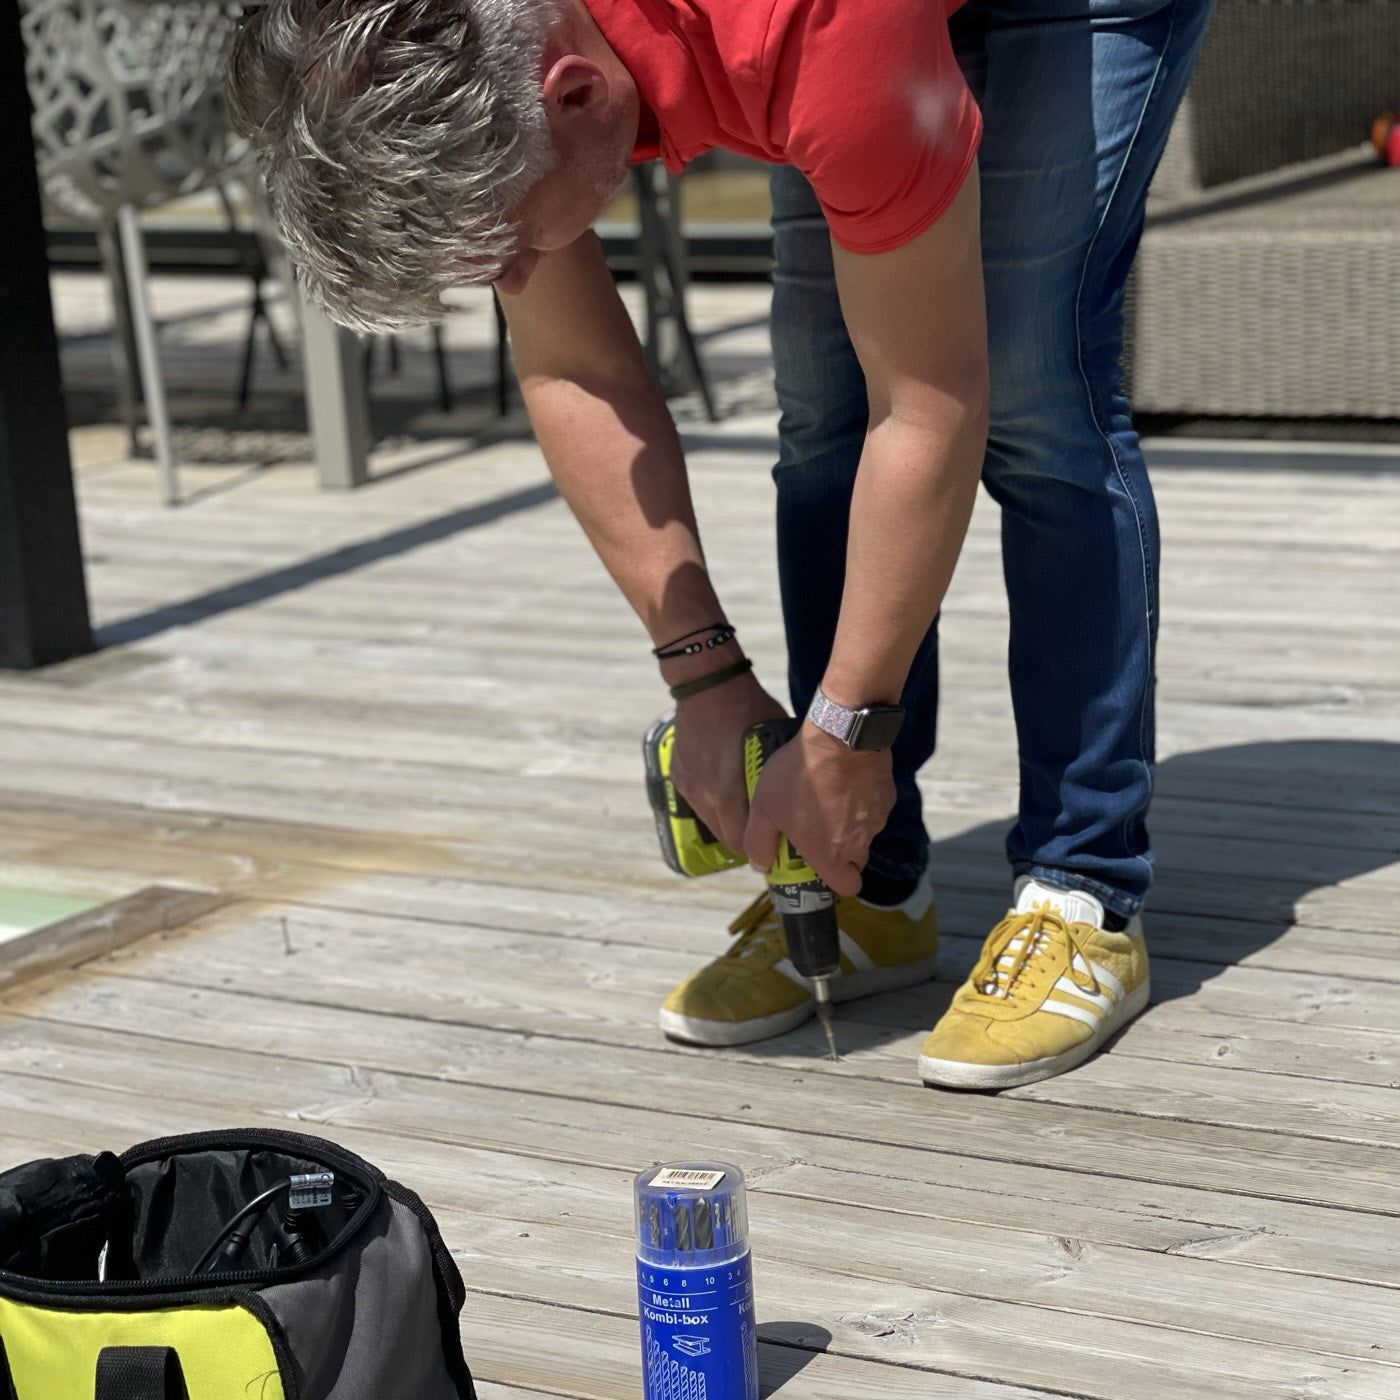
Step 4
Drill the Holes
Drill the holes using a hole saw or a Forstner bit. Let the drill do the work—avoid applying too much pressure for the cleanest result. If needed, lightly sand the edges of the holes afterwards.
If the deck board has not yet been installed, turn it over and drill from the visible side. This helps prevent tear-out and ensures a cleaner finish on the surface.
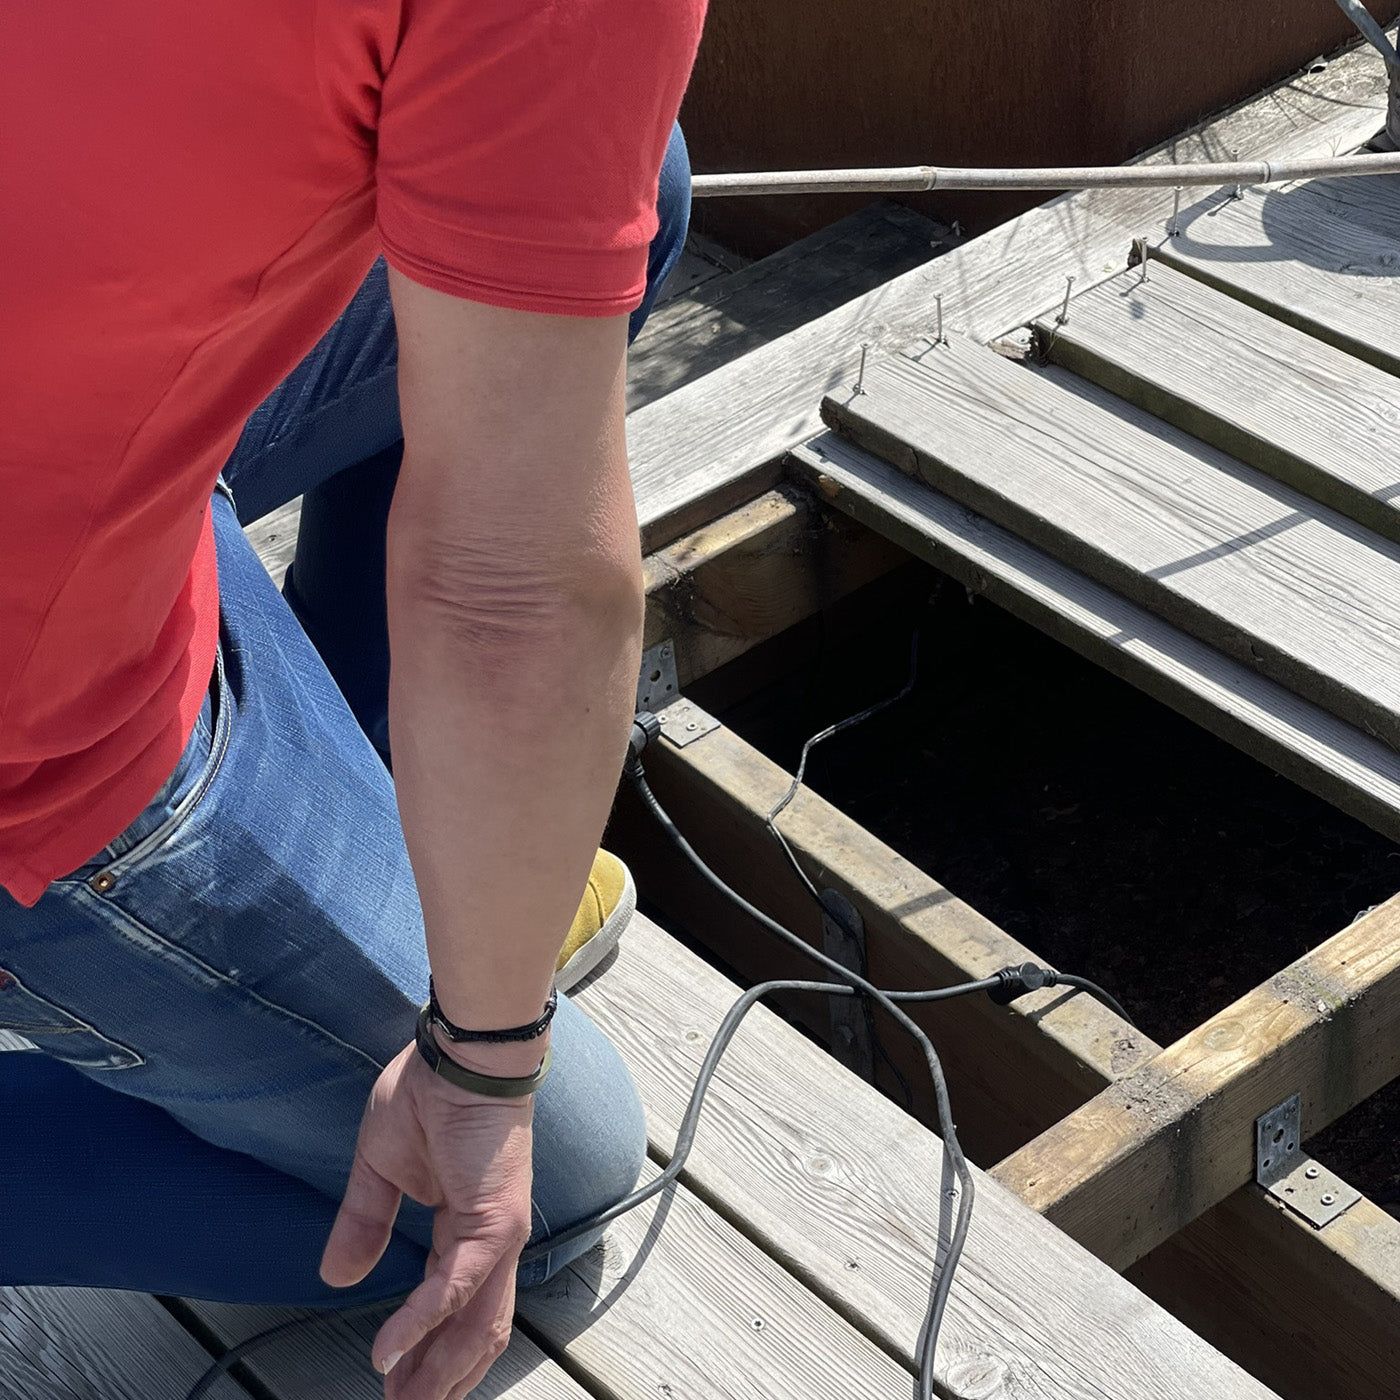
Step 5
Cable Routing
Routing the cables may require you to lift one or more deck boards to gain access underneath. You can run the cables through conduit or secure them to the underside of the deck, but in most installations they are simply laid in place.
The rubber extension cables are durable and designed to withstand the demands of the Nordic climate.
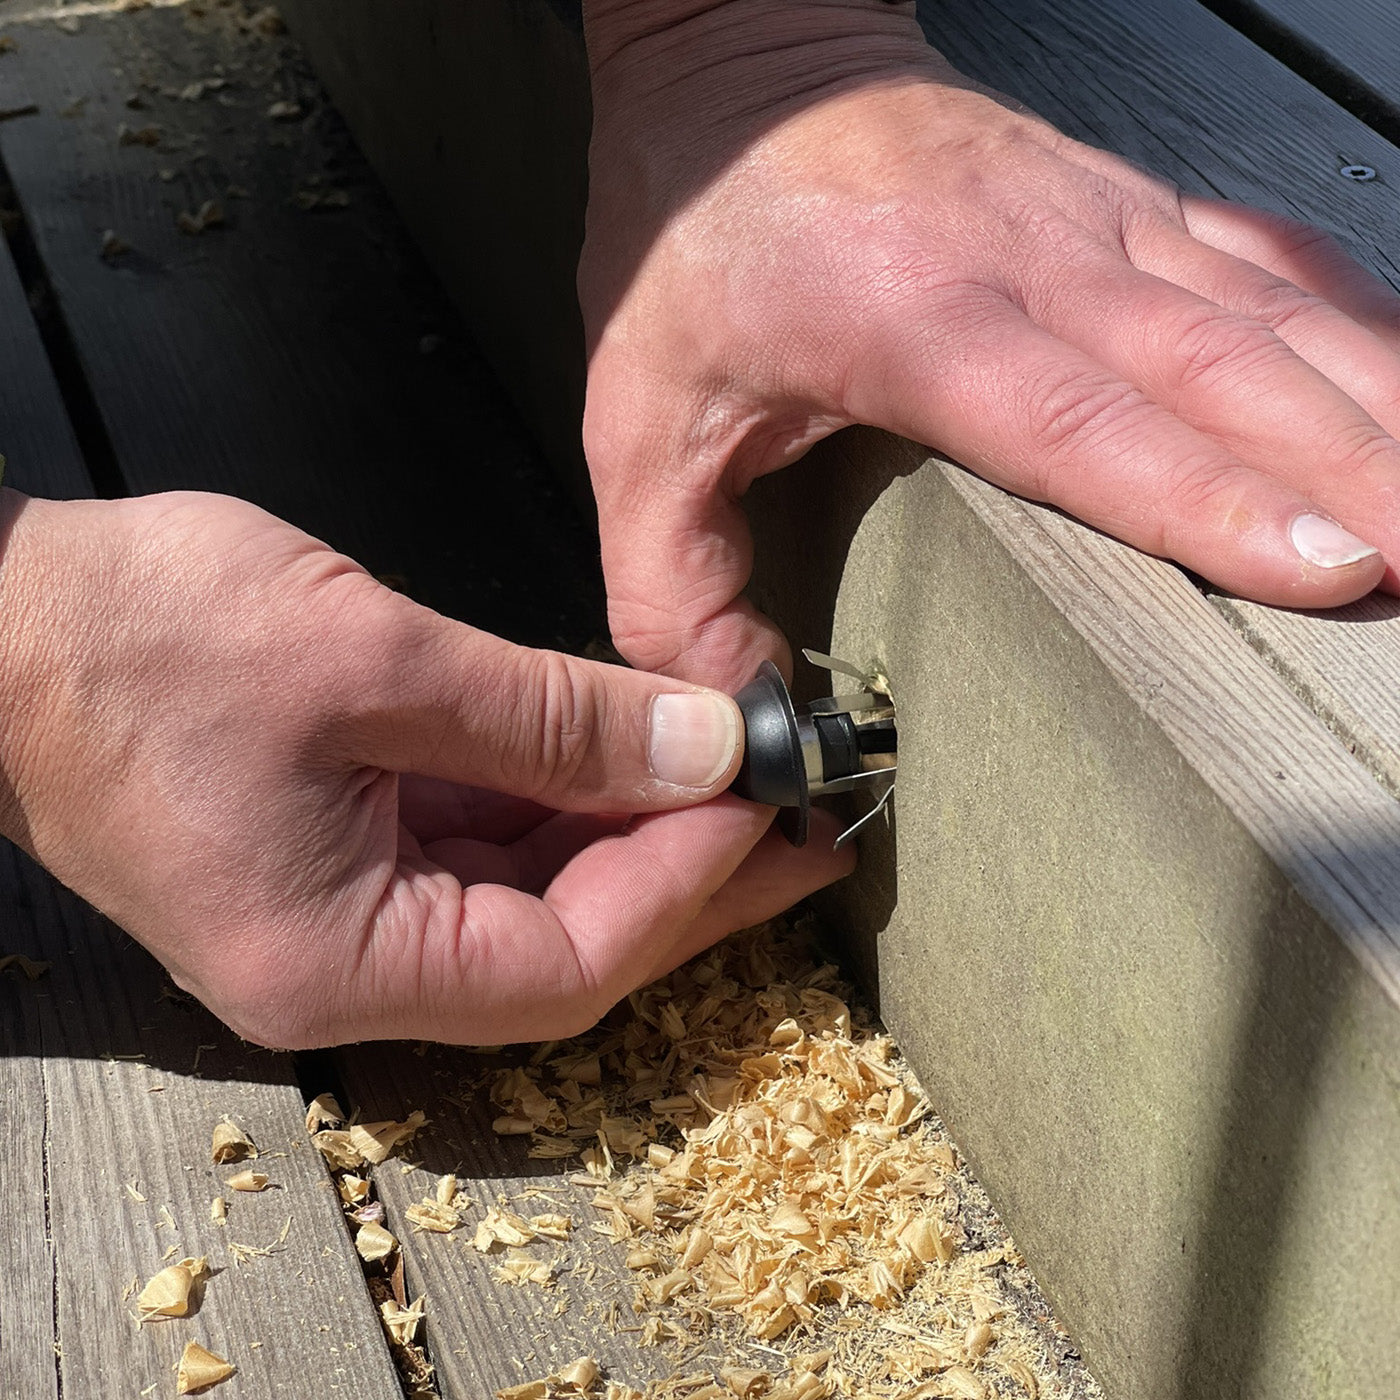
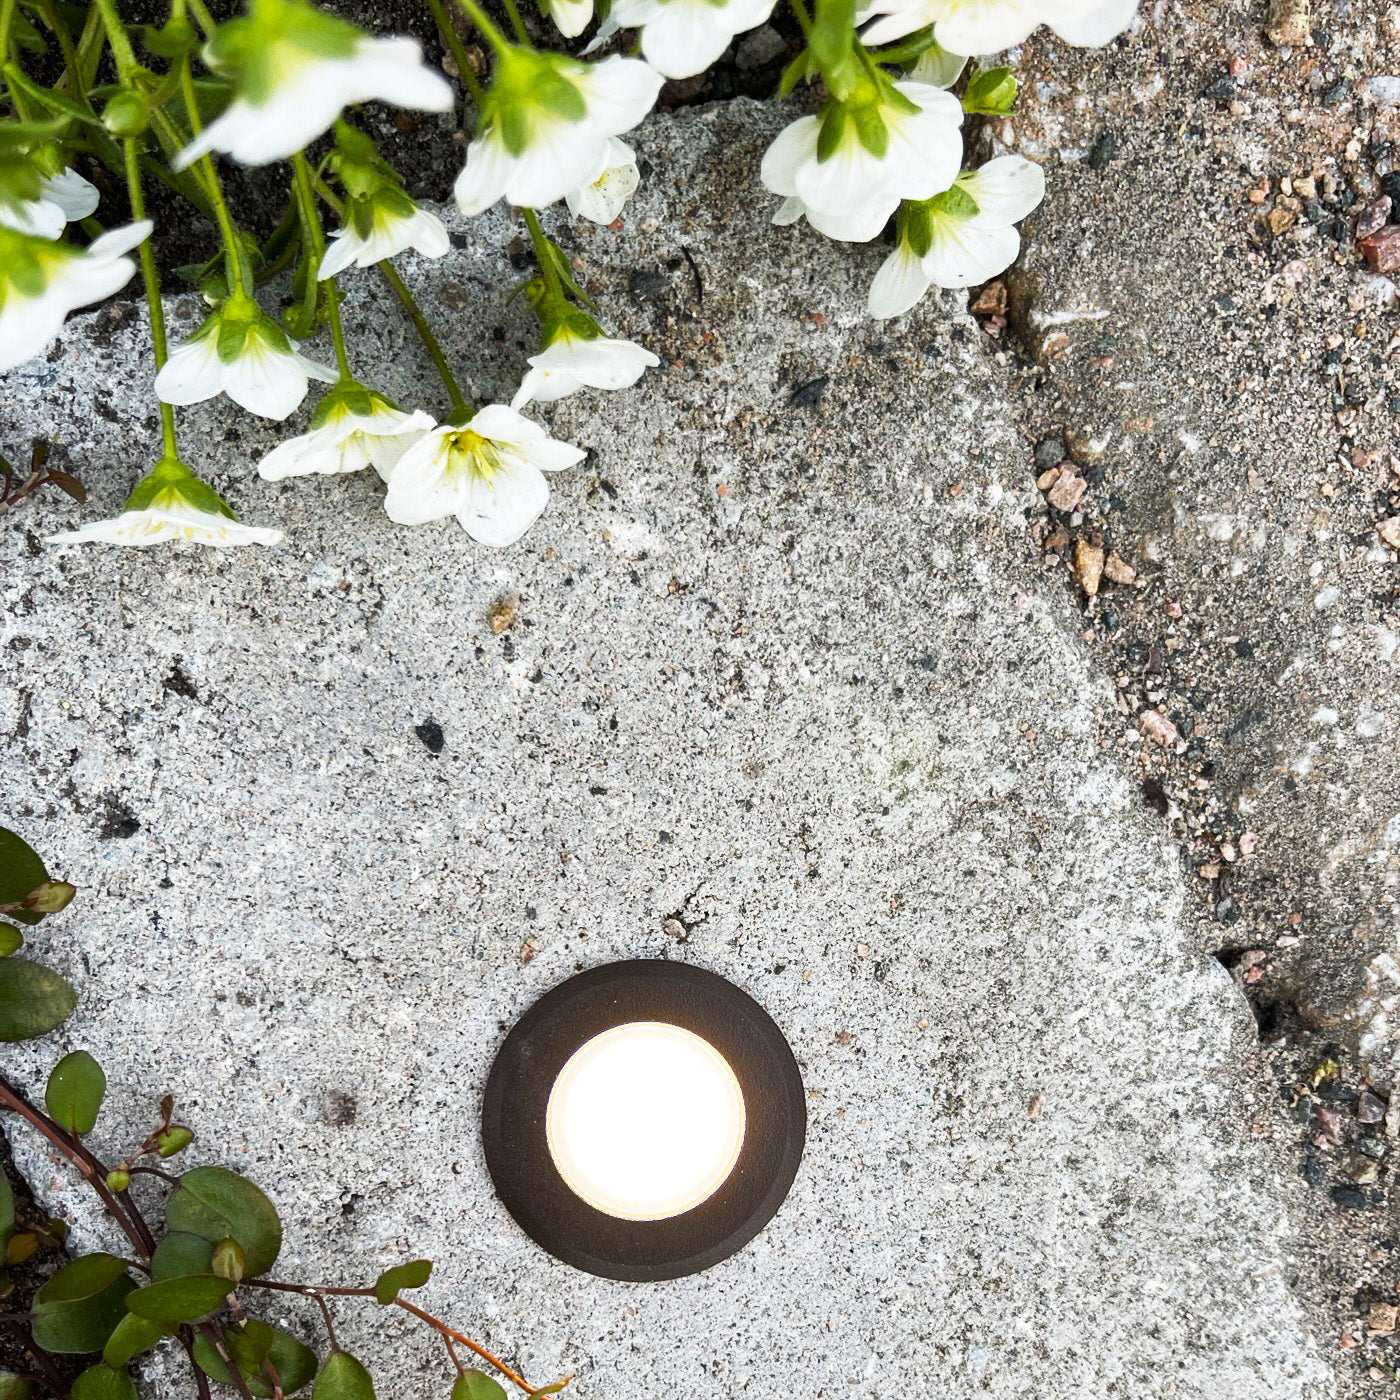
Step 6
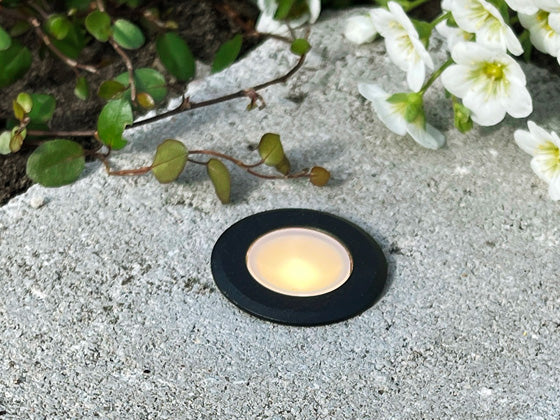
Install the Lights
Place the lights into the drilled holes and connect them to the extension cable. Tighten each connector securely to ensure a watertight seal.
Finally, connect the transformer and check that all the lights are working correctly.
Step 7
Recover
Once you've confirmed that everything is securely connected and all the lights are working correctly, replace any deck boards that were removed during the installation.
Installation Tips
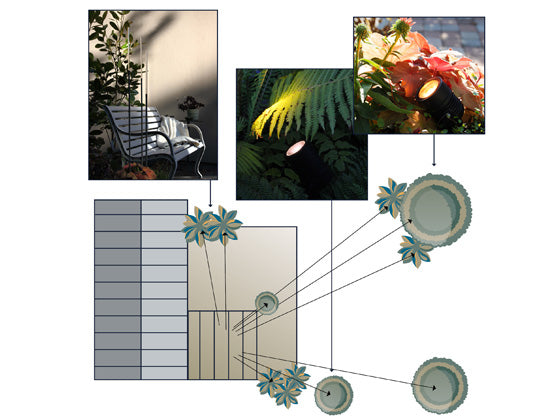
Installing in Stone
Plan your installation carefully. The planning process is similar to installing deck lights in a timber deck, but greater accuracy is essential. Once the stone is laid, making adjustments becomes much more difficult.
Prepare the cables before laying the stone. Run the cables—or install conduit—before the paving is laid. If you're using conduit, make sure it has a large enough diameter. We recommend using LightsOn extension cables rather than extension cables with integrated connectors. Where each light will be installed, connect a T-connector to the cable.
Use the right tools. A quality drill and drill bits designed for stone or porcelain are essential for clean, accurate holes. Work patiently and drill at a low speed for the best results.
Tip: Use a mounting cup and an extension cable. If a light ever needs replacing, you can save yourself a lot of work. Installing a mounting cup beneath the paving stone creates space for the cable, preventing it from becoming trapped. Add a short 0.5 m extension cable between the light and the T-connector, and you'll be able to lift the light out, disconnect it and fit a new one in less than 30 seconds—without disturbing the paving.
learn more
helpful articles
Install decklights - step by step
DIY - Create your own lamp – set the mood with Penny and Deco