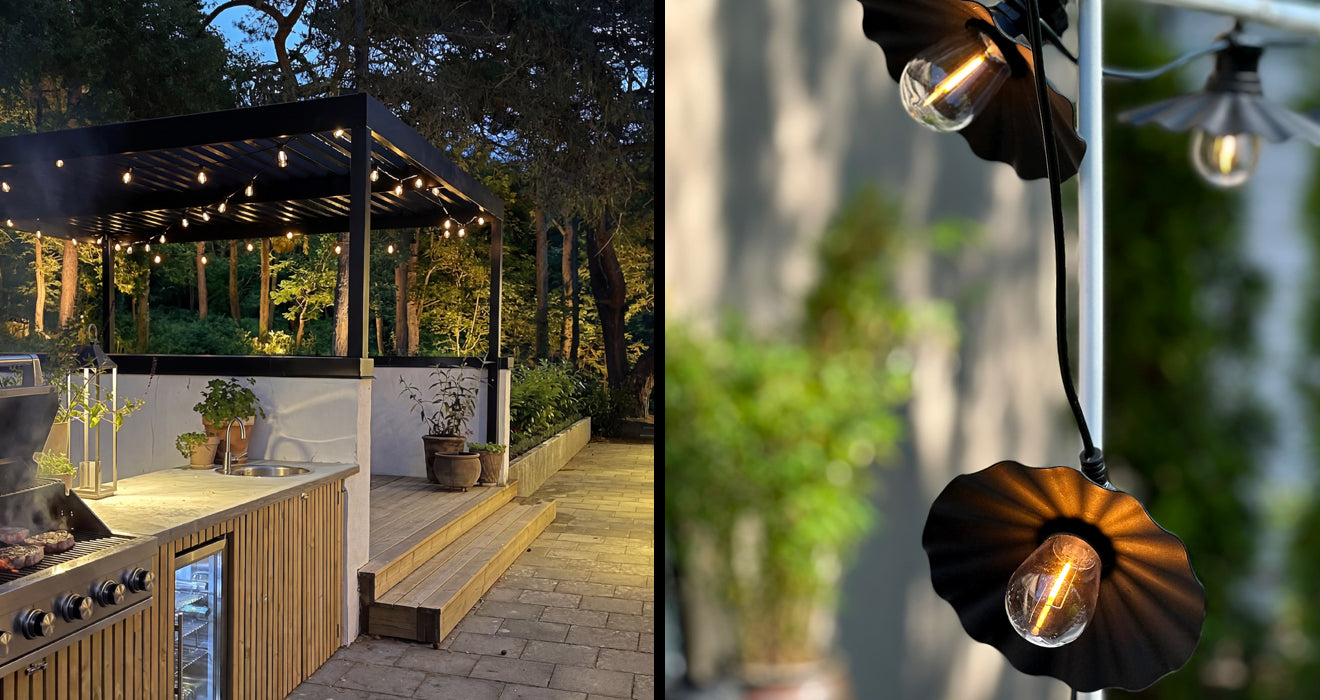

It’s now time to set up the outdoor lighting for the tool shed. I chose a lamp with downward light for the facade. In this case Nero. There are several other ways to illuminate the facade, but I want to avoid glare and I don't want the light from the shed to get in the way when I'm by my patio.
I want the lights on the facade to turn on and off automatically at dusk and dawn, so these lights will be installed on a separate transformer with a light sensor. The light will be turned on at the same time as the other lights, this will give the garden the overall most beautiful look. Also, I also want to be able to find my way to the tool shed during the winter without having to go looking for a switch in the dark.

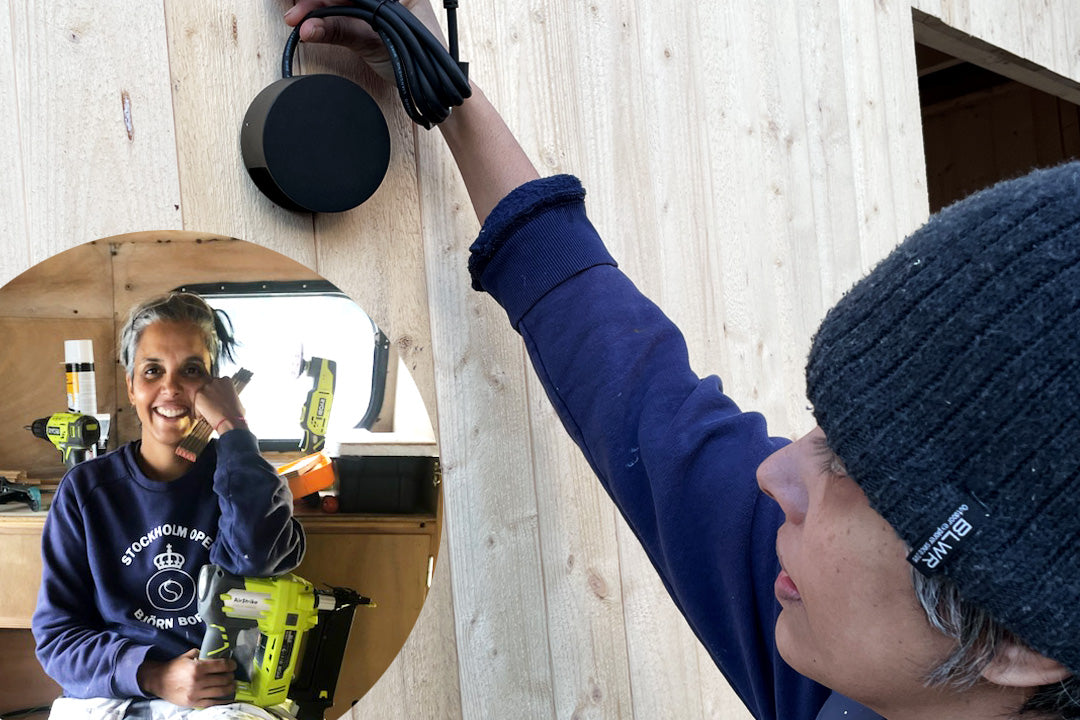
I shift my focus to measuring where to place the lights on the facade. It can be helpful to have someone holding the lights up so you can see how high they need to be mounted. Once I know the position, I drill holes in the facade so that the cables can be fed to the inside. A 22 mm drill is recommended here as well. Simple and easy. You could additionally use cable ties to mount the cables along the outside of your house to hide them. Personally, I want to hide all my cables, both in- and outside.

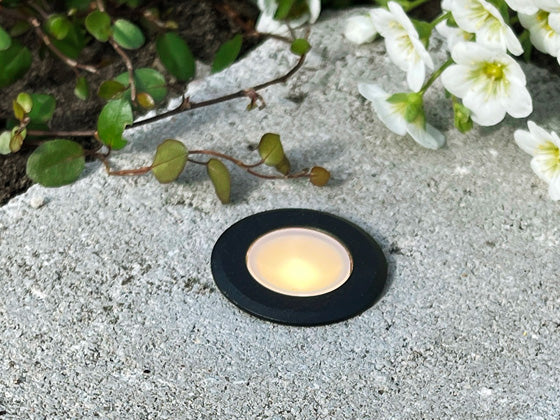
Next up is for the lamp Nero to be mounted on the wall. It is one of my personal favourites, as it feels solid and emits a nice downward light. Note the small screws that hold Nero in place. If they drop out, they are a thing of the past.

After mounting the lights, it is time for me to connect the cables on the inside. I use the T-connector quite a bit and label them so I can keep track of which cables go to which system (as I have two separate ones inside the walls). It obviously looks messy, but it is well thought out and saves me a lot of time in the future if I need to add or remove something in the future.

Tool shed part 3 – finished result
Bonus blog – Experimenting with an old lampshade